Setting up your clients couldn’t be easier or safer
Registering Clients
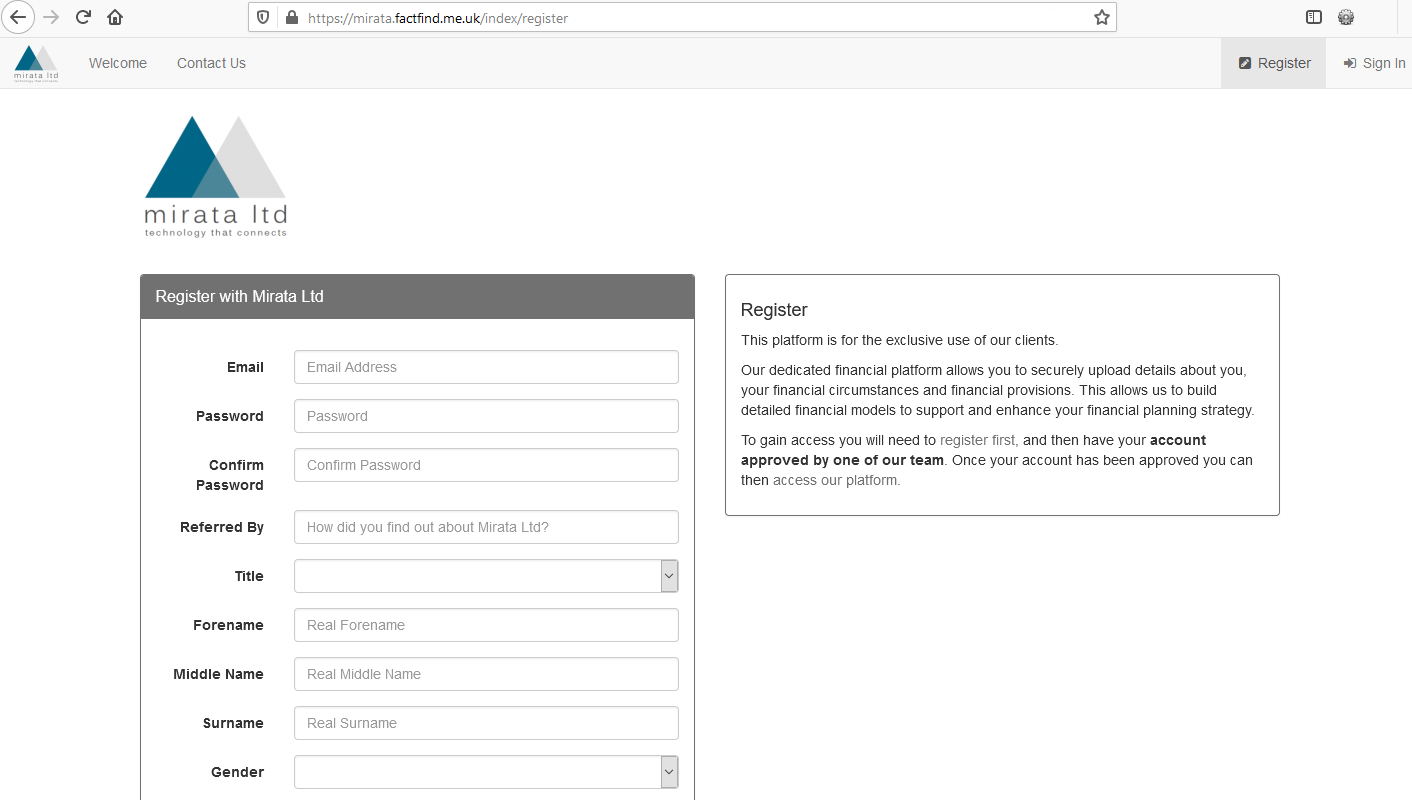
Once you’ve setup your very own branded version of My Factfind, you’re all ready to ask your clients to register and start completing their own personal fact find information. The first step is to send your branded web link (URL) to your clients, inviting them to register.
Your personalized registration link is in the following format:
https://your-company-name.factfind.me.uk/index/register
For demonstration purposes we have created a tutorial site – an example of the Mirata Ltd Tutorial Site is shown below. As you can see the address bar shows the registration URL as: https://mirata.factfind.me.uk/index/register (Note: When you are logged into My Factfind as an administrator (or as a staff member), you cannot see the registration page.)
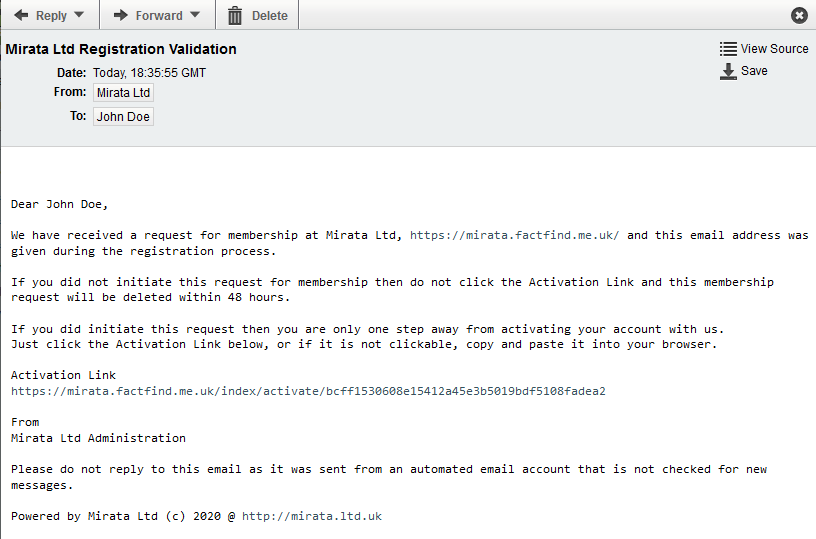
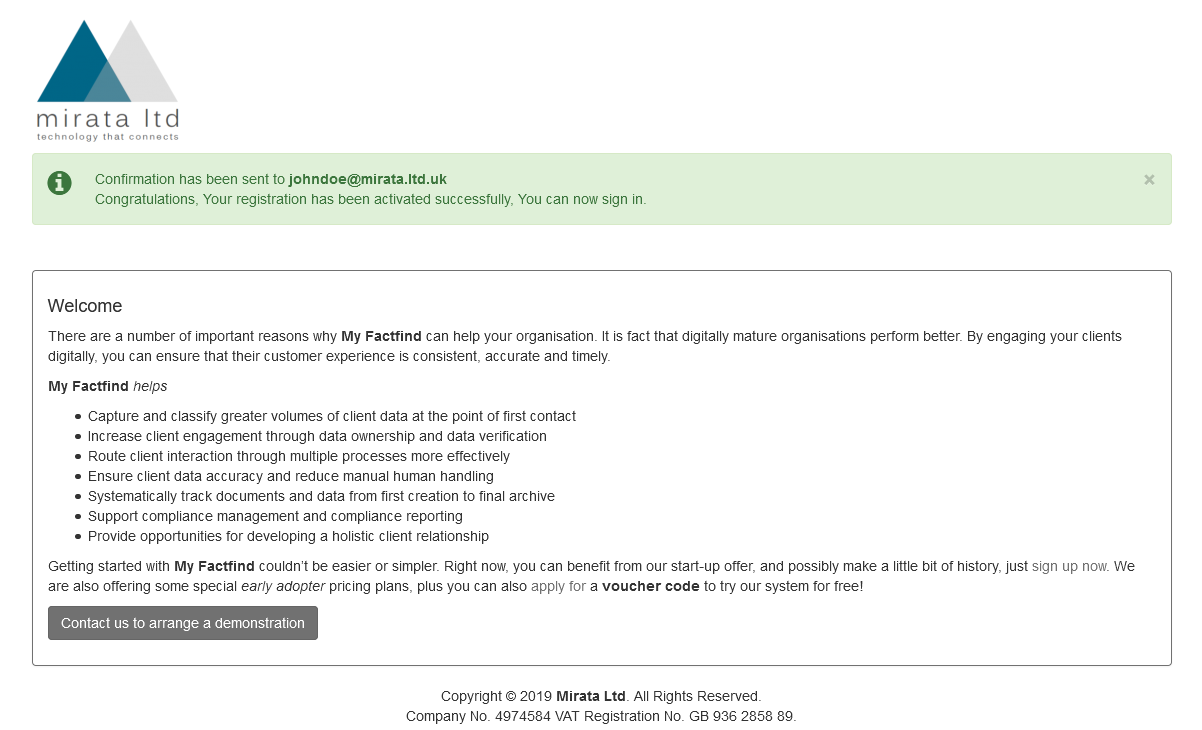
Once your client has submitted the registration form on My Factfind, they will receive a “Congratulations” confirmation message followed by an activation email.
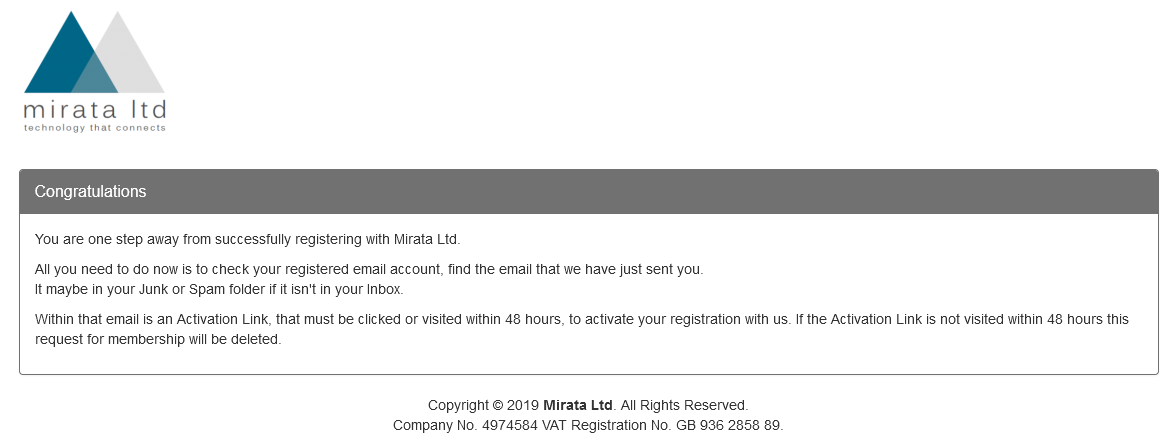
The email contains an activation link which must be clicked before the account becomes active. (Note: Sometimes these emails can get caught in SPAM filters, check the junk mail folder if the email does not arrive.)
If clients are having difficulty receiving the activation email, they should:
- Check the junk (or spam or clutter) mail folder (it’s highly likely this is the problem)
- Clear any mail filters that have been set that may automatically be acting on incoming email
- Add the sender email address no-reply@factfind.me.uk to their address book
- Add the sender email address no-reply@factfind.me.uk to their white (or safe) list
You may need to resend the activation email which can be done via your “Dashboard”.
Once your client has clicked the activation link in the email, a “Congratulations” confirmation message will be displayed, and a “Welcome” email will be sent to them.
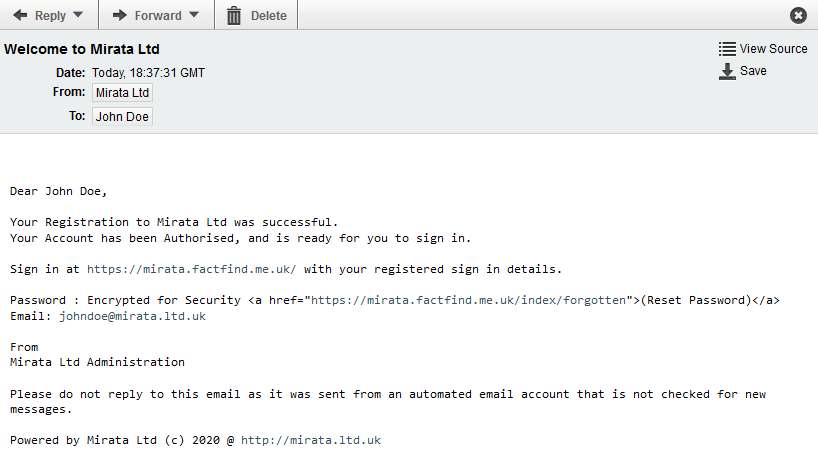
Following activation a “Welcome” email is sent to the client.
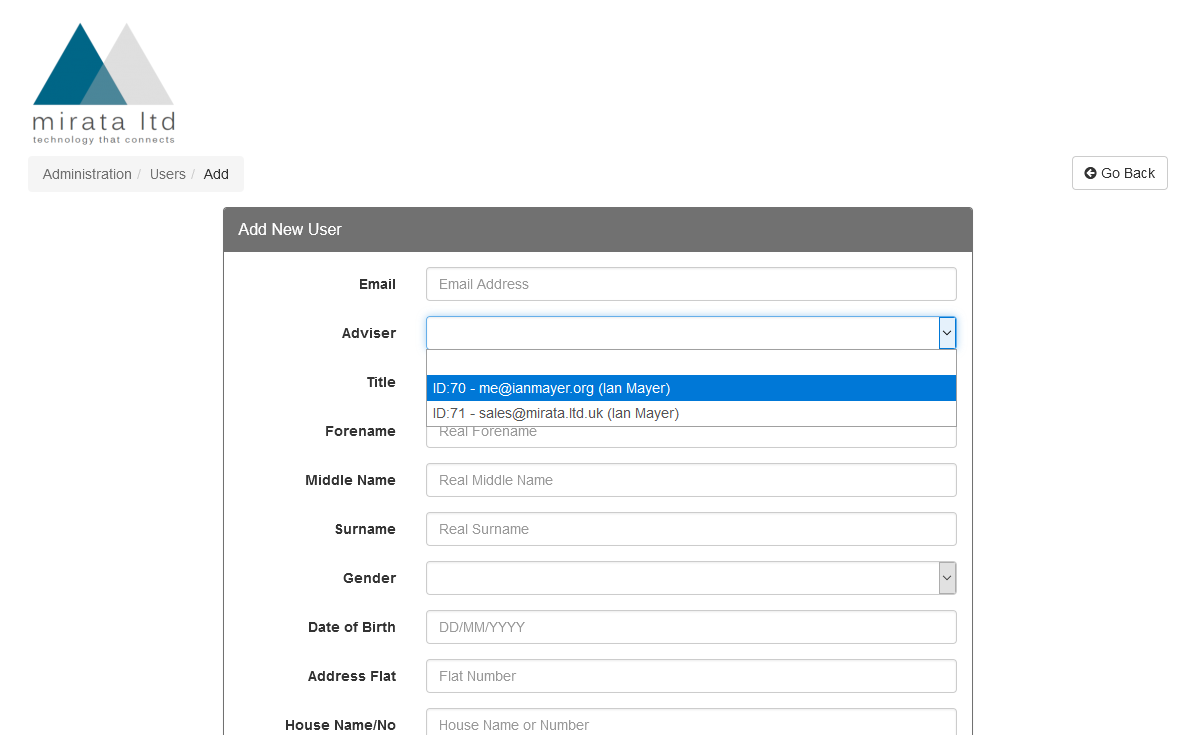
Adding Clients Manually
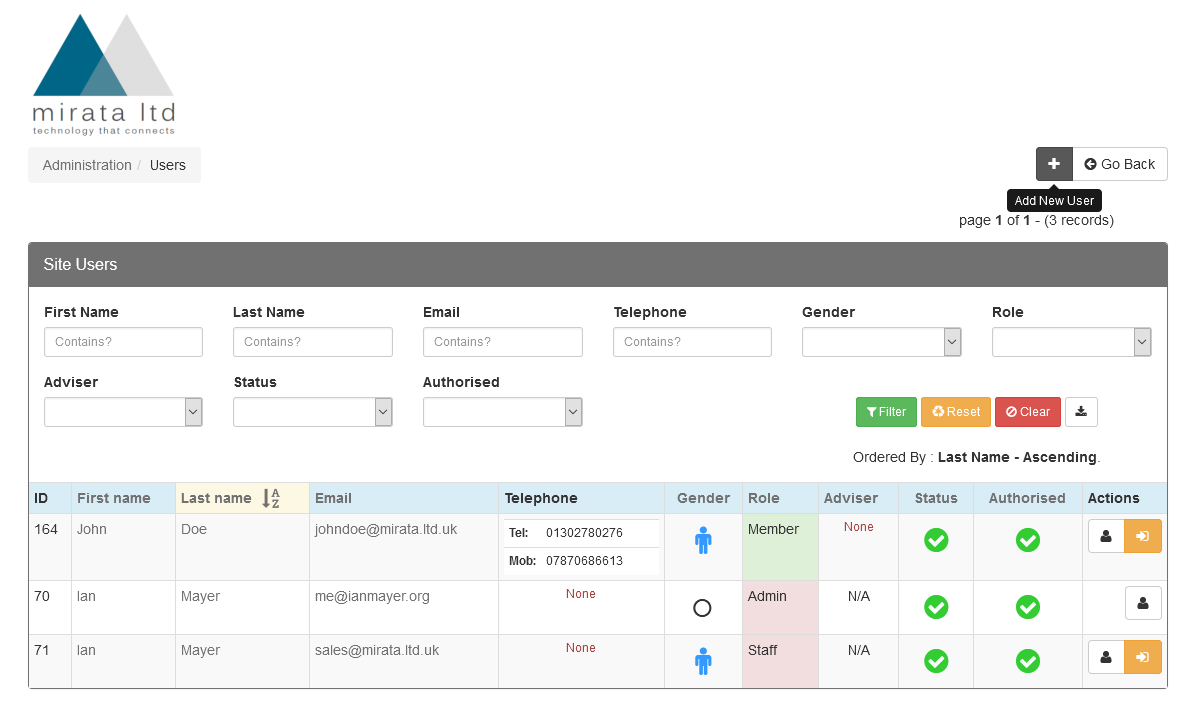
For certain types of client it may be more appropriate to add them manually via the “Admin” area. This can be done in the “Site Users” area, click on the “Add User” icon and complete the registration form manually. (Note: The “Site Users” area is where all users on your site can be found, this includes your clients).
The registration form allows you to select which member of your team (staff / adviser) the client is to be associated with. Once you have completed and submitted the form, the client will receive an email that contains an activation link which must be clicked before the account becomes active. (Note: Sometimes these emails can get caught in SPAM filters, check the junk mail folder if the email does not arrive.)